



MEMOTAIN® 2.0 · Custom lingual retainer
Stable retention, with a retainer designed for each case
MEMOTAIN® 2.0 has a custom design, partial anchoring and partial distances for the papillae, planned case by case. Material fracture rate reported by the manufacturer: below 1%.
See the offerBonding instructions
Why MEMOTAIN® 2.0
Retention is essential for the long-term success of any treatment. All the new features of MEMOTAIN® 2.0 are planned case by case, for each patient’s individual requirements.
MEMOTAIN®
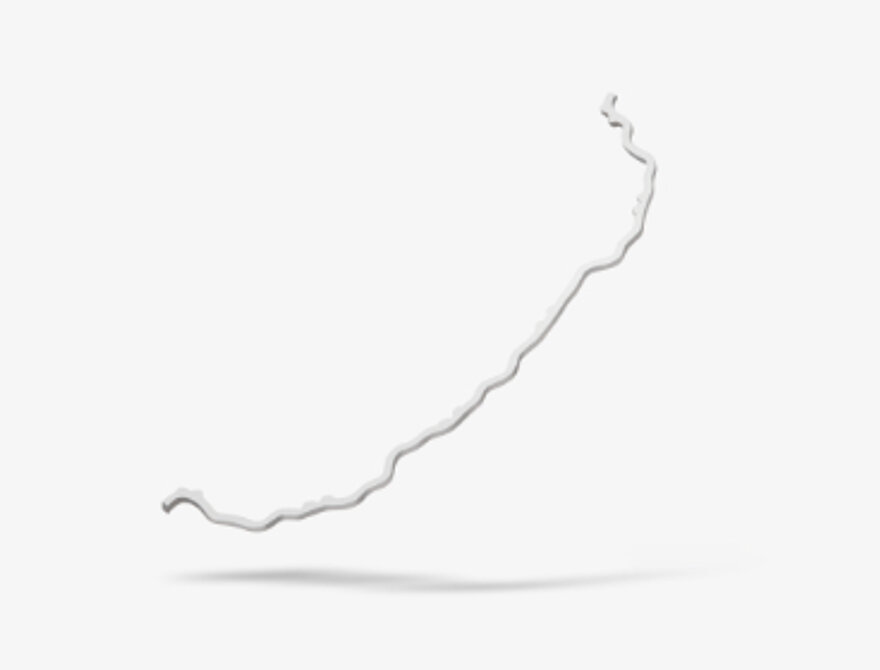
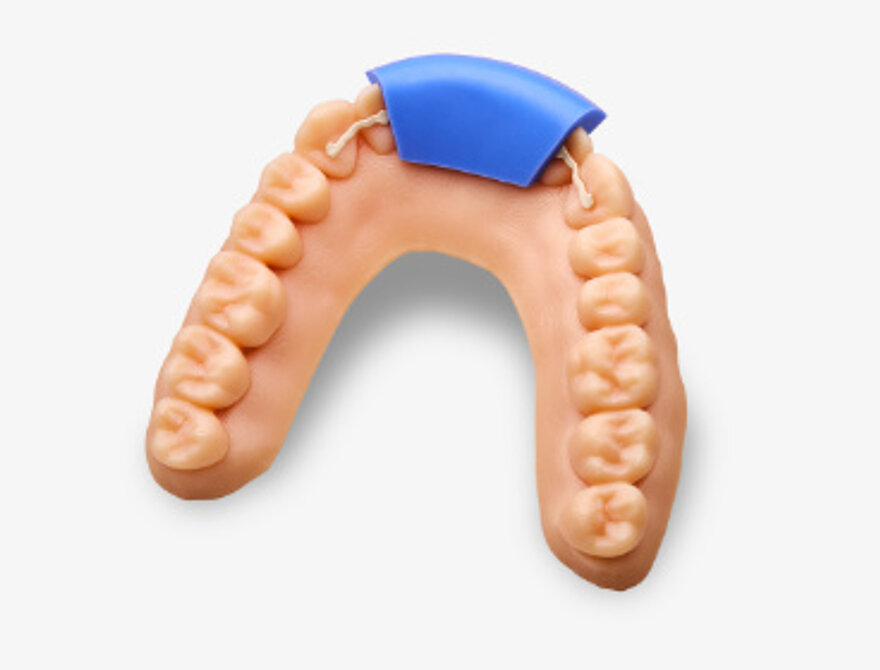
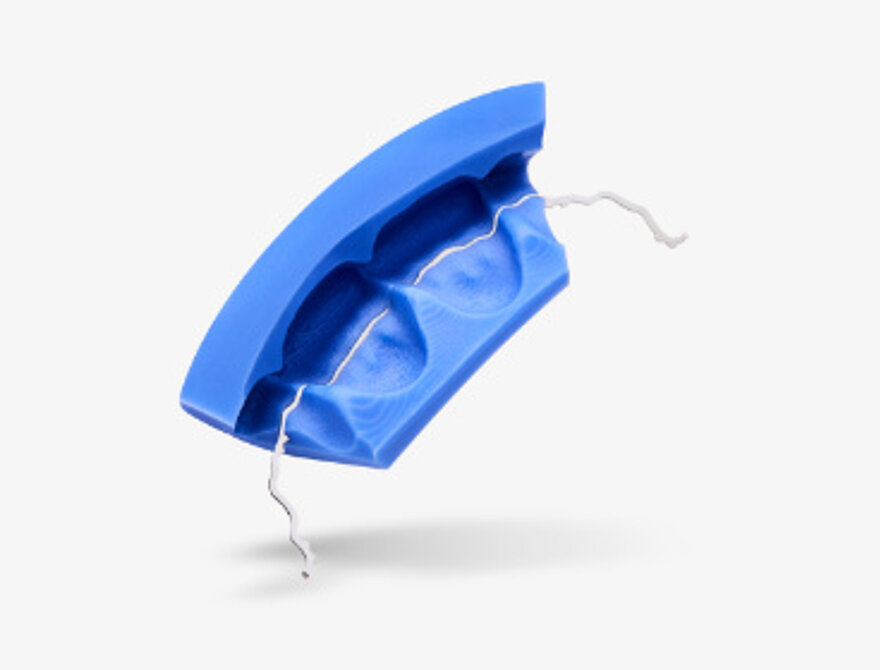
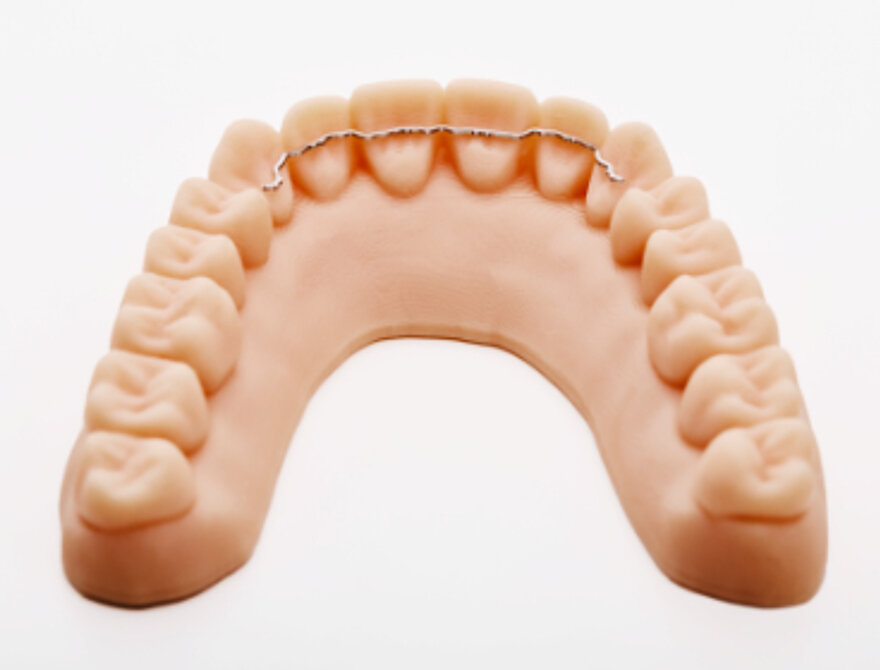
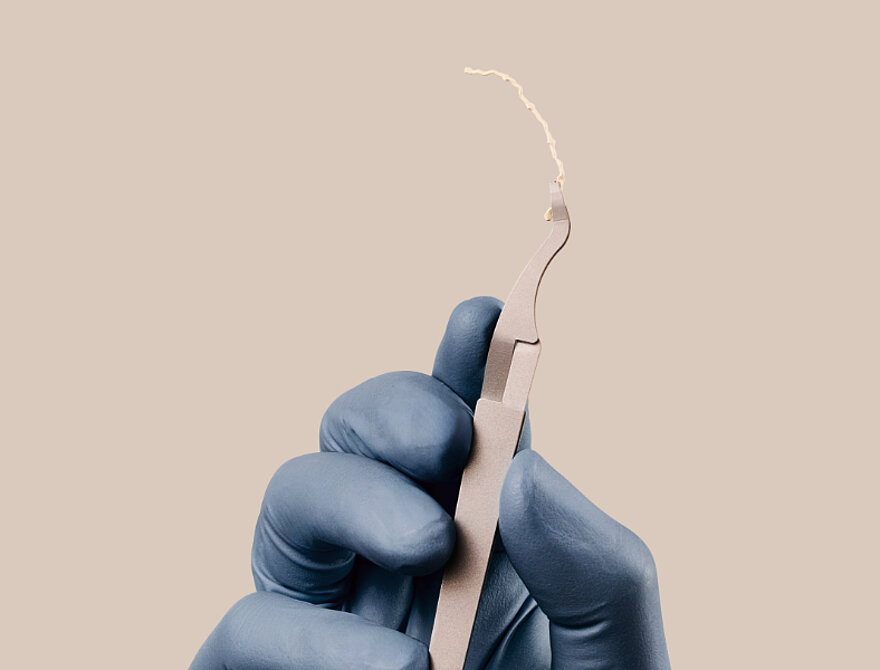
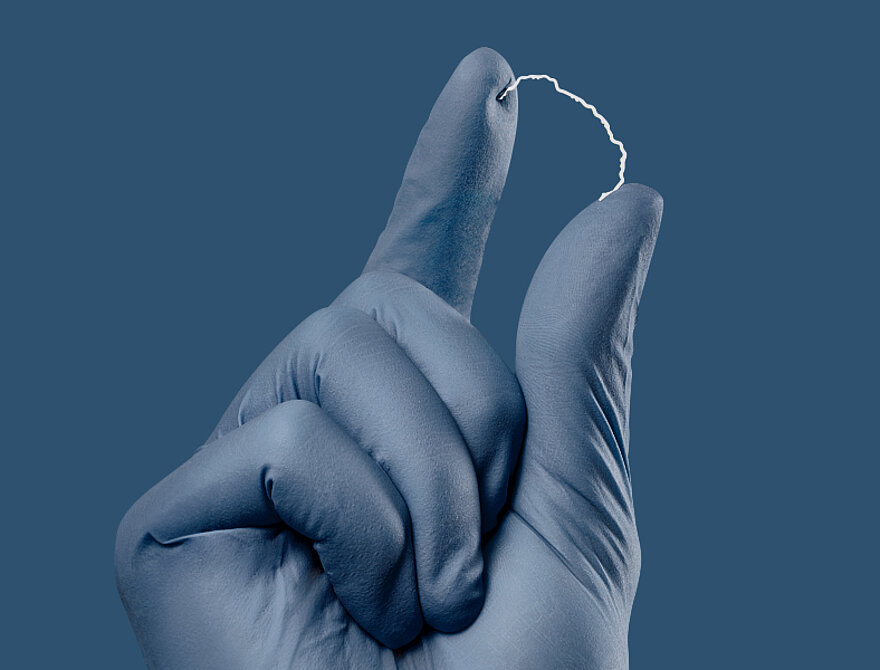
The retainer, the transfer cap and the result bonded on the model.
Feature 1
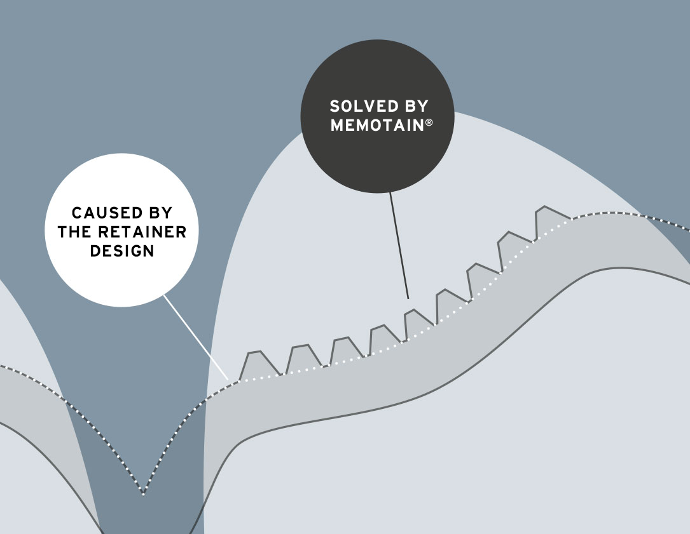
Partial anchoring for better support
Clinicians who bond retainers often know the problem: the smooth wire frequently slips out of the bonded area, especially with straight tooth anatomy.
To prevent this slipping effect, Scheu Dental has integrated the concept of partial retention into the MEMOTAIN® system. The partial retention elements interlock in the bonding area and prevent the retainer from slipping out of the bonded points.
Feature 2
Custom design for greater stability
As in architecture, rounded arches usually offer greater stability than pointed ones. Scheu Dental followed this principle in optimising MEMOTAIN®.
Interdental areas that are too sharp can increase the risk of material damage and fracture. That is why these sensitive areas are partially smoothed, automatically, without compromising fit or wearing comfort.
Feature 3
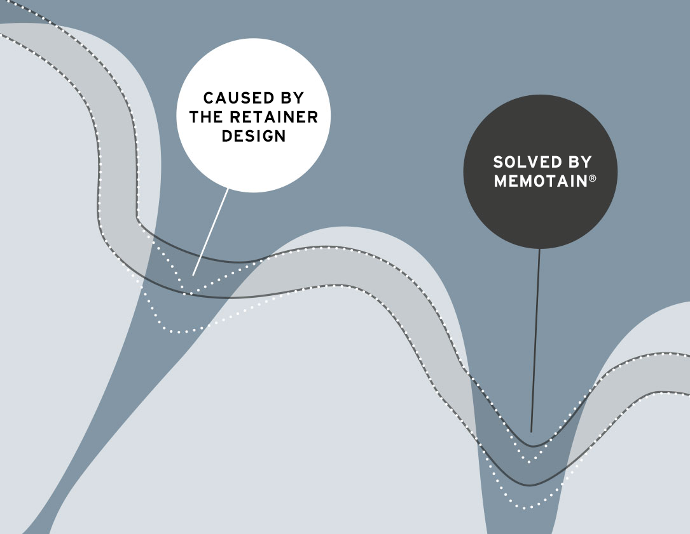
Partial distances that create space for the papillae
In patients with pronounced papillae, compromises used to be necessary: either the retainer was placed deep in the oral cavity, or it had to be split.
Partial distances keep a small area away from the tooth. This creates space and, at the same time, keeps the retainer from sliding away from the centre of resistance.
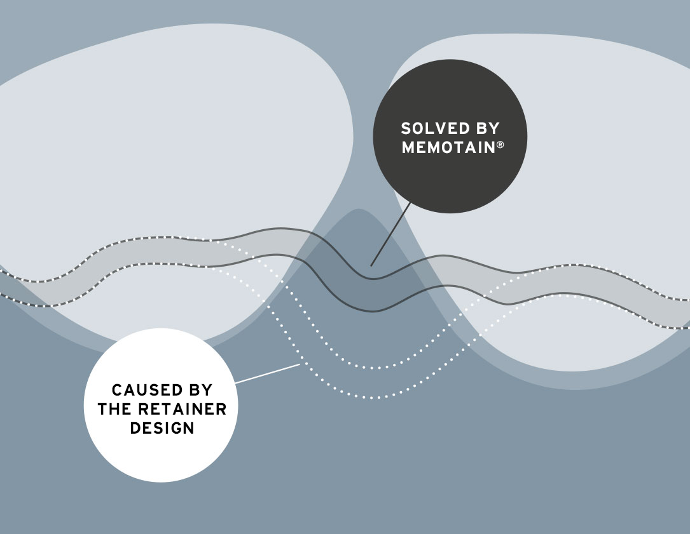
What MEMOTAIN® 2.0 solves
| Common problem | The MEMOTAIN® 2.0 solution |
|---|---|
| The smooth wire slips out of the bonded area | Partial retention elements, interlocked in the bonding area |
| Sharp interdental areas increase the risk of fracture | Automatic partial smoothing of sensitive areas |
| Pronounced papillae, retainer placed too deep or split | Partial distances that create space for the papillae |
Order MEMOTAIN®
How to apply MEMOTAIN®: bonding in 9 steps
Quality check: always check the fit of MEMOTAIN® on the working model provided, before placement.
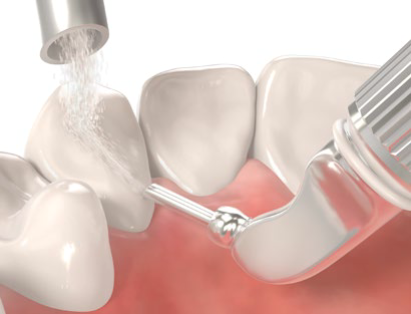
Sandblasting
Clean the lingual surfaces thoroughly. First remove plaque with an ultrasonic scaler (polishing pastes are not suitable). Tip: additional sandblasting or AirFlow® improves the longevity of the bonding surface.
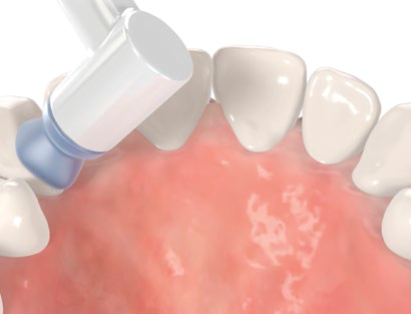
Cleaning
Then remove plaque with a polishing brush and finish with a rubber cup.
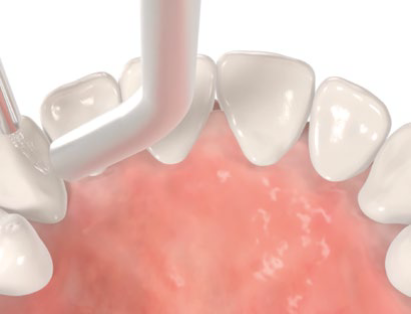
Etching, rinsing and drying
Etch all teeth involved with 37% phosphoric acid, following the manufacturer’s application time. Rinse the gel off thoroughly after the specified time and dry.
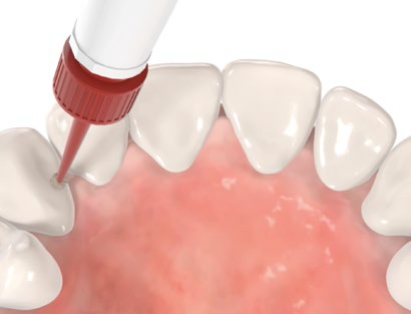
Primer
Keep the lingual surfaces dry (DryField® or other tongue-protection aids) and apply the primer. Follow the manufacturer’s application and curing times.
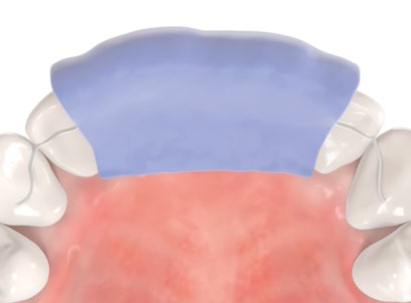
Transfer
Place the transfer cap together with MEMOTAIN® in the patient’s mouth. Guide it carefully over the sharp edges and check the overall fit.
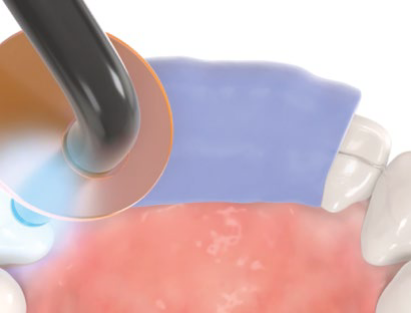
Bonding the anchor teeth
Apply composite to the anchor teeth and shape it with a fine probe. The bonding surfaces should be wide and flat, at least 1 mm thick. Light-cure.
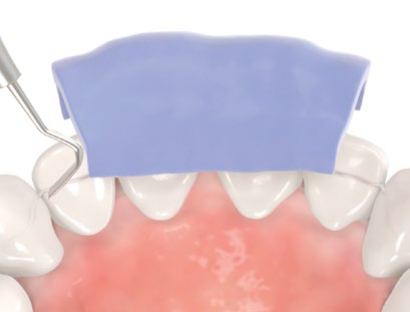
Removing the transfer cap
Hold MEMOTAIN® in place with a suitable instrument (ligature director, Heidemann spatula or probe) while carefully removing the transfer cap.
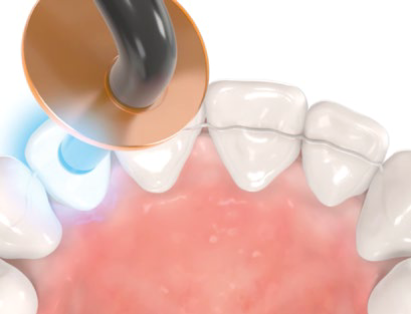
Bonding the remaining teeth
Repeat step 6 for the remaining teeth. Check for any premature contacts in the upper arch.
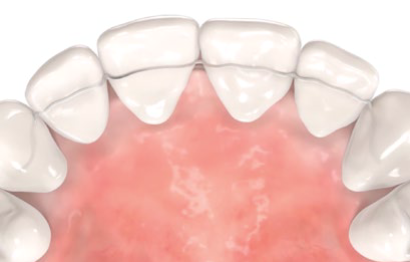
Final check
Use a probe to check that the composite covers the retainer evenly. Check the contacts on the bonding surfaces and polish if needed.
Bonding video instructions
MEMOTAIN® bonding
Tips for treatment with MEMOTAIN®
Composite and impression recommendations
Useful information for a clinically correct transfer.
Quality
Common causes of retainer breakage
A broken retainer is frustrating for both clinician and patient. It is rarely due to a faulty design or material.
As part of its quality control, Scheu Dental analysed all customer complaints to identify the most common causes:
9 steps to a perfect MEMOTAIN® fit
The illustrated bonding instructions show every step in detail and include tips and material recommendations.
Why order from UpOrtho
Brands
International
Orthodontic products from trusted manufacturers.
Support
Specialist
Dedicated support for the needs of orthodontic professionals.
Questions about ordering a MEMOTAIN® retainer?
We will help you with the information needed to order and with the bonding protocol.